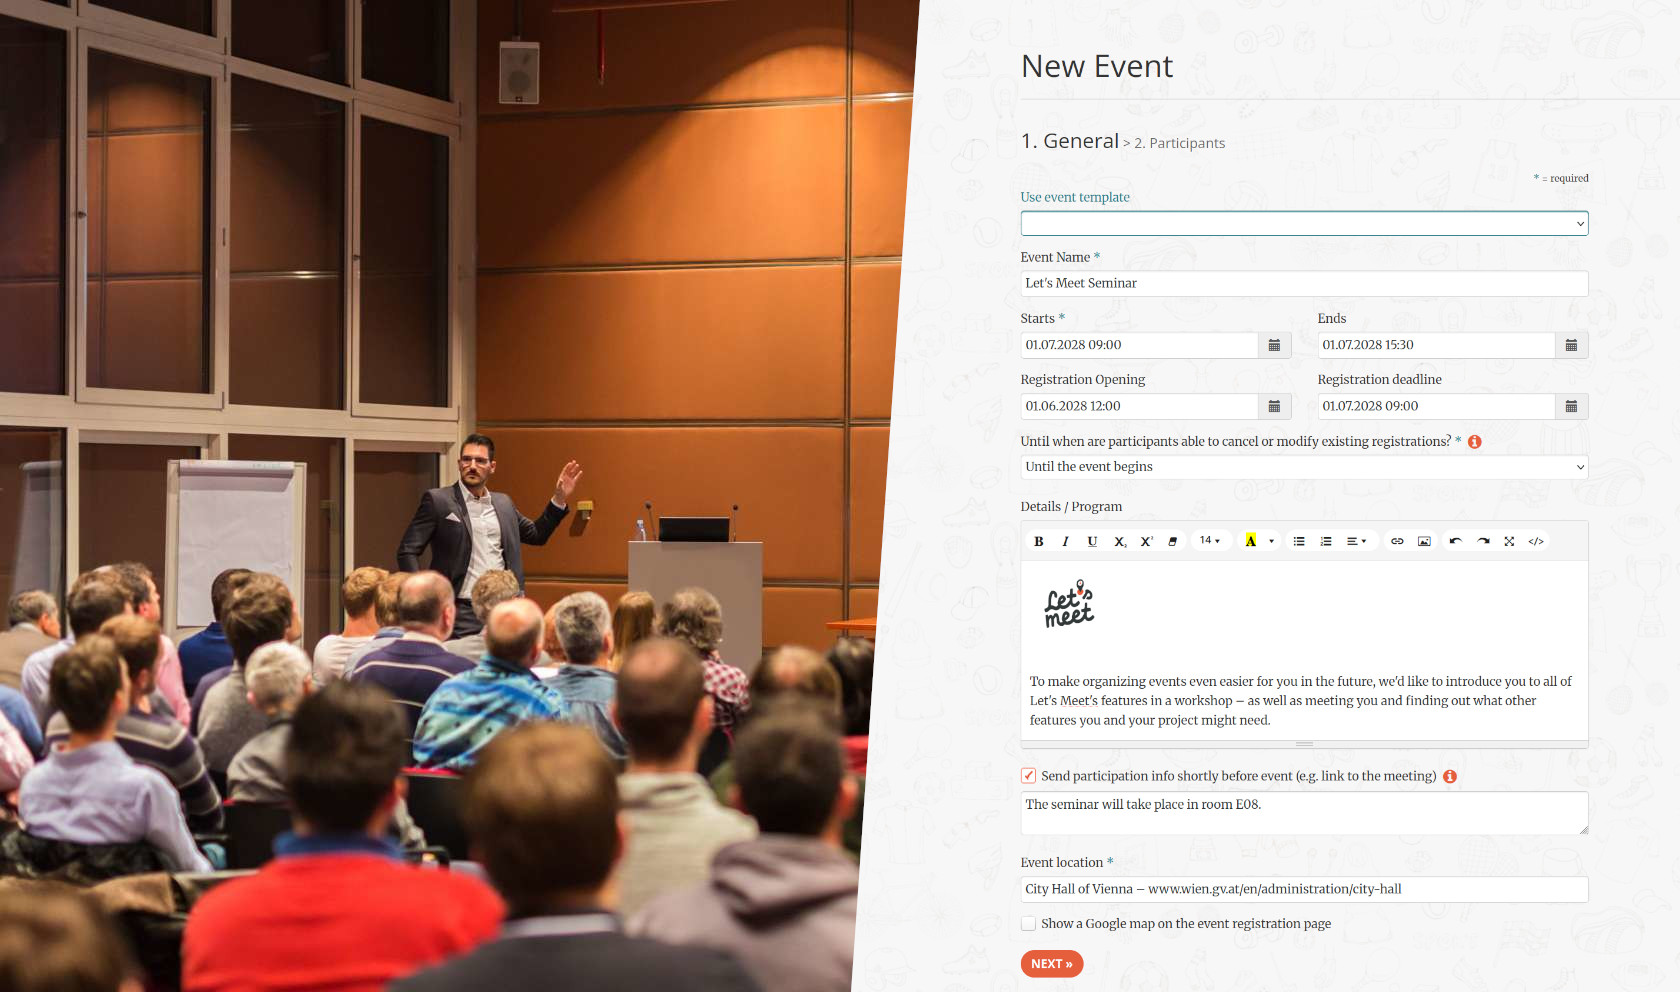
When organizing a corporate event like a client meeting, a training session, or a company celebration, having the right planning tool is essential. Even for private occasions like weddings or birthday parties, manually managing the guest list and collecting RSVPs can quickly become a real challenge.
In this guide, we’ll take a closer look at how to easily create a new event online using our event management platform Let’s Meet. Using a corporate seminar as an example, we’ll walk through the entire process, covering all features and settings.
Contents
Creating a new event
Start and end of the registration period
Limit editing of registrations
Event description or agenda
Participation info shortly before the event
Location
Templates
Participant limit and accompanying people
Waiting list
Visibility of the guest list
Contacts for sending invitations
Private events: personal registration links
Invitation methods
Customizing the invitations
Planning an event with Let’s Meet
Anyone can create an event on the Let’s Meet website – it’s completely free, and you don’t even need to register. All we need is your email address to give your guests a way to contact you and so we can send you the admin link.
However, having an account makes some things easier: You get an overview of all your scheduled events, and you can create email distribution lists and event templates.
If you need additional features or are planning a larger event, our paid packages are also an option. You can find an overview in this feature comparison. To provide a complete picture of the event creation process and all its possibilities, we’ll also cover these features in this guide. If there’s anything here you don’t need, just skip it. But now, back to our planned event!
Creating a new event
To create a new event, go to lets-meet.org/en/new_event. The first page covers the key facts of your event: What are you planning, when, and where? If you stick to these basic details and send out the registration link yourself, you can create an event in less than a minute. But in this guide, we’ll also walk you through the more intricate features in detail so you can take full advantage of our event platform.
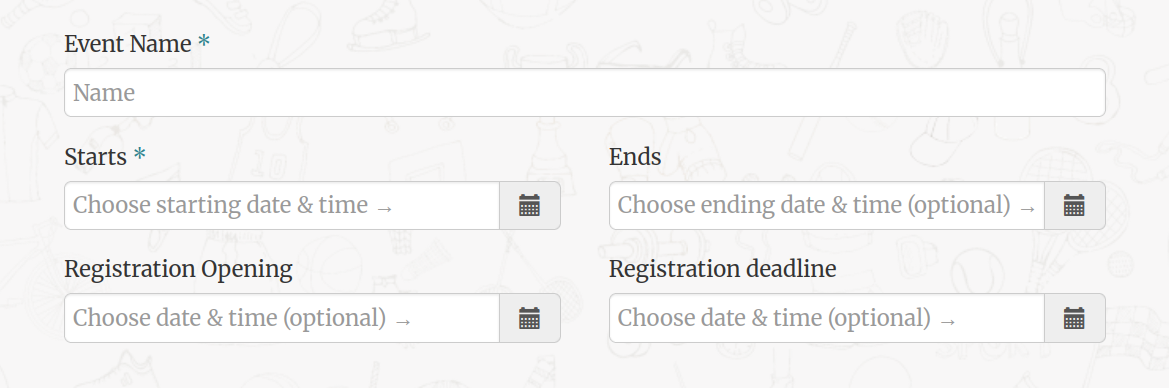
First, give the event a name and set the start time. The system automatically suggests an end time of two hours after the start – but this is optional. For open-ended events, you can simply remove it.
In general, you must specify both a date and a time for the start and end of an event. For multi-day events, however, you may prefer not to specify a certain time. In this case, you can set the begin and end times to 00:00 – during registration, only the date will then be visible to your guests.
The registration period
By default, guests can register from the moment the event is created until the event begins. If necessary, you can limit this time frame. Outside of the registration period, the event remains visible along with all its key details, but with a note indicating when registration opens or that the registration deadline has already passed.
For multi-day events where participants can join later, the registration deadline can also be set to the end of the event. If no registration deadline is specified, registrations are accepted until the event begins.
Limit editing of registrations
Guests who have confirmed their attendance can edit or cancel their registration at any time before the event begins. As the organizer, however, you have the option to restrict this possibility or disable it entirely – for example, if you want to accept cancellations exclusively via email. You, of course, can edit registrations at any time, including after the event.
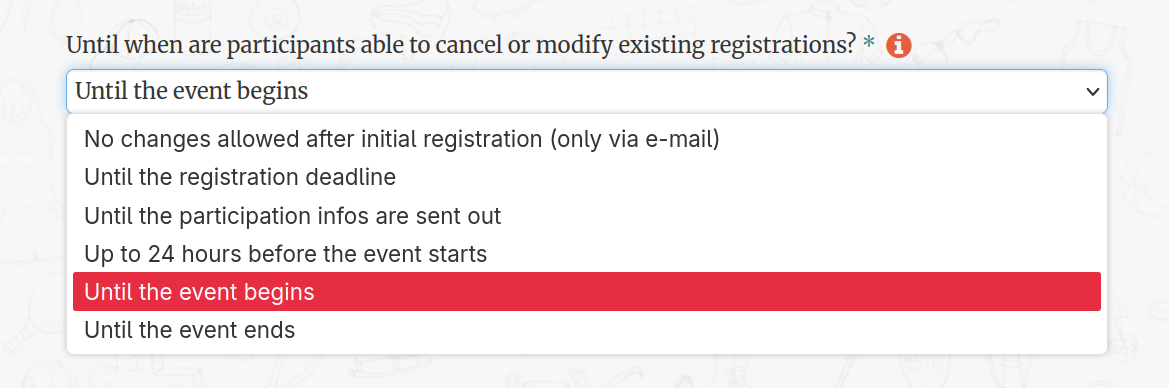
This setting also does not affect participants’ ability to edit their responses within 15 minutes of their initial registration. We always allow this so that errors or typos can be corrected.
Event description or agenda
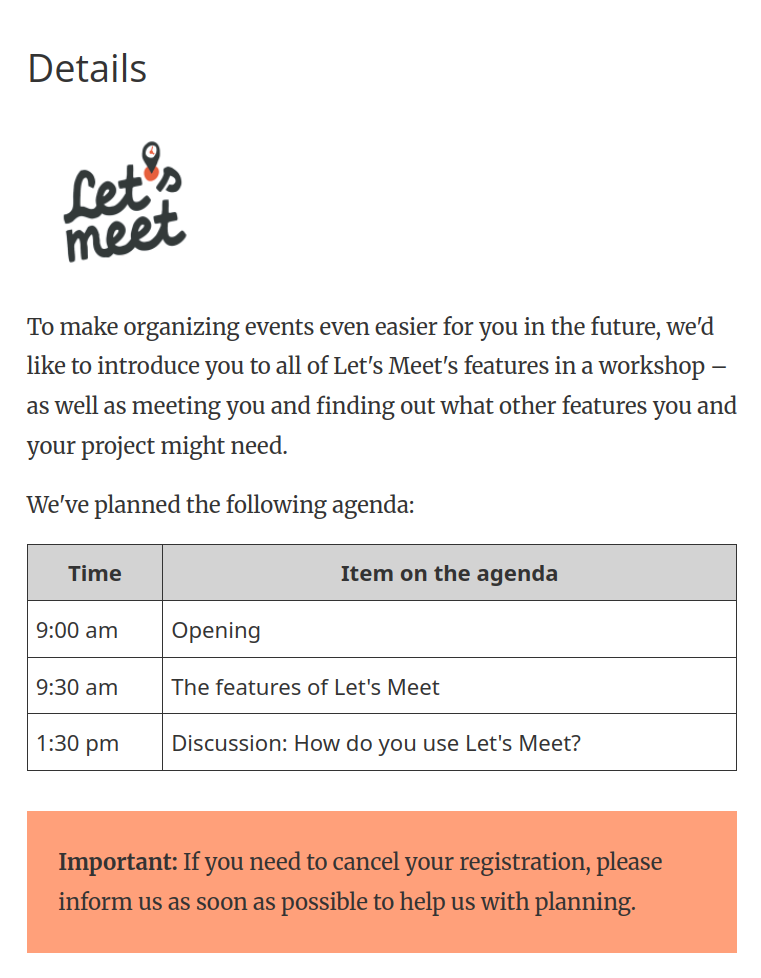
In the event description, you can provide your guests with all the information relevant to the event – such as the program or directions. You can also include links and images that are stored somewhere on the internet.
For those who want full control over the display of the description: It is also possible to enter HTML code in the text field by clicking the “Code View” button on the far right. You could use this to add tables or colored boxes, for instance. The following code was used to create the table and the orange box in our sample description – you can take and adjust it to your event.
<table style="width:100%; font-family:sans-serif" border="1"><tbody>
  <tr style="background-color:lightgray">
    <th style="text-align:center; padding:5px">Time</th>
    <th style="text-align:center; padding:5px">Item on the agenda</th>
  </tr>
  <tr>
    <td style="padding:5px">9:00 am</td>
    <td style="padding:5px">Opening</td>
  </tr>
  <tr>
    <td style="padding:5px">9:30 am</td>
    <td style="padding:5px">The features of Let's Meet</td>
  </tr>
  <tr>
    <td style="padding:5px">1:30 pm</td>
    <td style="padding:5px">Discussion: How do you use Let's Meet?</td>
  </tr>
</tbody></table>

<div style="background-color:lightsalmon; padding:20px">
  <b>Important:</b> If you need to cancel your registration, please
  inform us as soon as possible to help us with planning.
</div>
Participation info shortly before the event
This feature allows you to send registered participants some last important details shortly before the event begins. This is particularly useful for online events, for example, when you want to ensure that the meeting link is shared only with those who have actually registered. To do this, simply paste the link into the field provided.
The email containing the participation details will be sent along with the event reminder shortly before the event. The exact time of sending can be defined in your account settings. If someone registers after the participation details have been sent, the details will be sent directly with the registration confirmation.
Location
The event location is of course one of the key details, as well. Here, this can simply be a name or an address, but also a link to a website. All web addresses are automatically converted into clickable links on the registration page. In our example, we use this to link to the venue’s website, where our guests can find more detailed information.
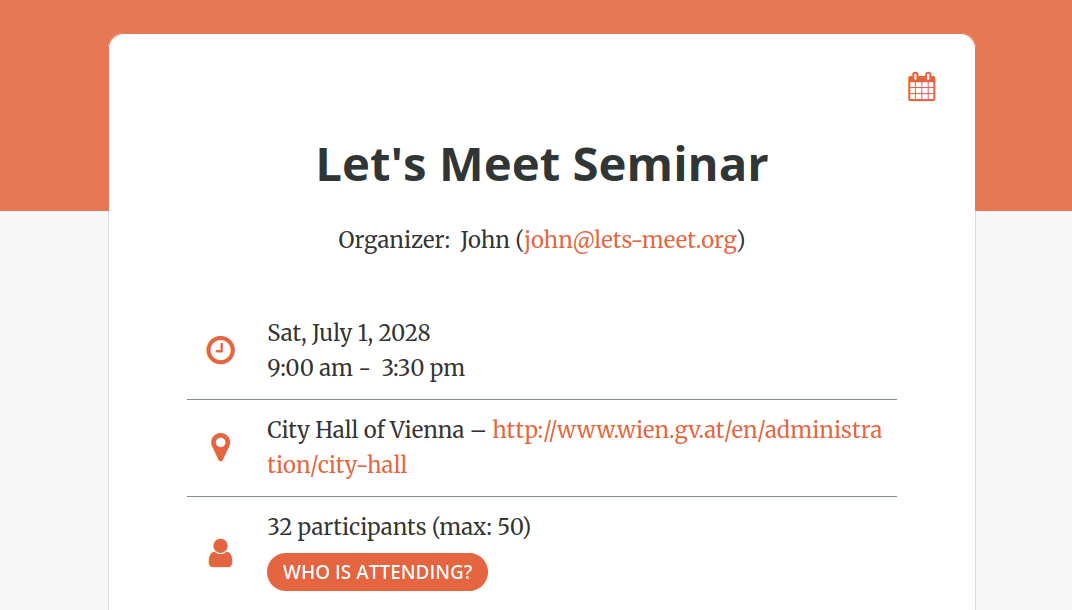
In addition, you can display a small map section from Google Maps showing the event location. The venue should be located automatically based on the words entered, but if there’s any ambiguity, you can help the system by entering an address or city.
Templates
If you’re logged in, you may have noticed that the name isn’t actually the first field when creating an event – at the very top, you can select a template which your new event should follow. In short: Everything we set up here can be saved and reused for future events. Creating a template at lets-meet.org/new_template works almost exactly the same way as creating an event. You can decide which fields to pre-set, and which to leave blank to be filled in later when you create the event.
We’ve now reached the end of the first page with the general settings. Click “Next” to proceed to the second page with the participant settings.
Participant limit and accompanying people
If you’re planning an event with limited slots, you can set a participant limit here. Directly below that, you can specify how many accompanying people are allowed per participant – that is, how many people can be registered with a single registration in addition to the person who has RSVP’d.
Waiting list
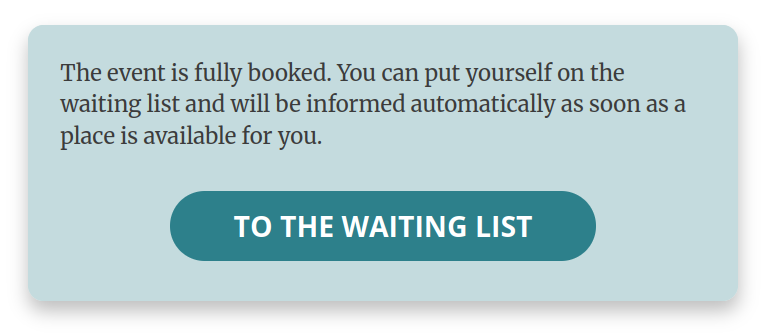
If the maximum number of participants has been reached, you can continue to accept registrations (or registration requests), which will then be placed on a waiting list. If someone subsequently cancels their registration or that of a companion, the first person on the waiting list will be automatically moved up and registered. If you increase the participant limit after people have registered to the waiting list, this automatic registration will only take place after a 15-minute delay to give you time to manually prioritize the desired individuals from the waiting list, if you wish.
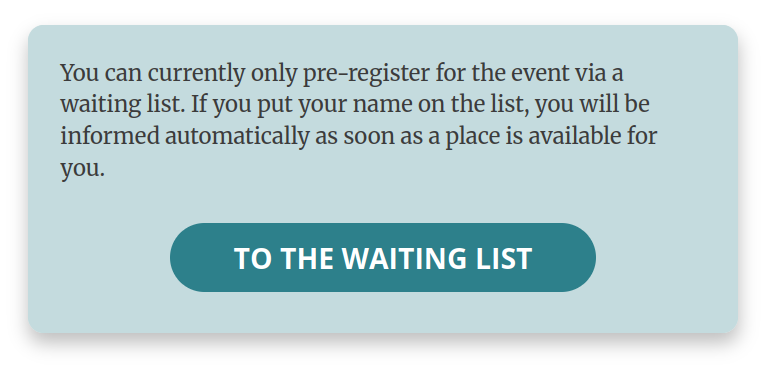
The waiting list also allows you to preselect registrations. If the participant limit is set to zero, guests will be informed that you are currently only accepting pre-registrations. Once registration requests are received, you can then increase the participant limit and either select participants manually or have the system automatically move them up the list.
Visibility of the guest list
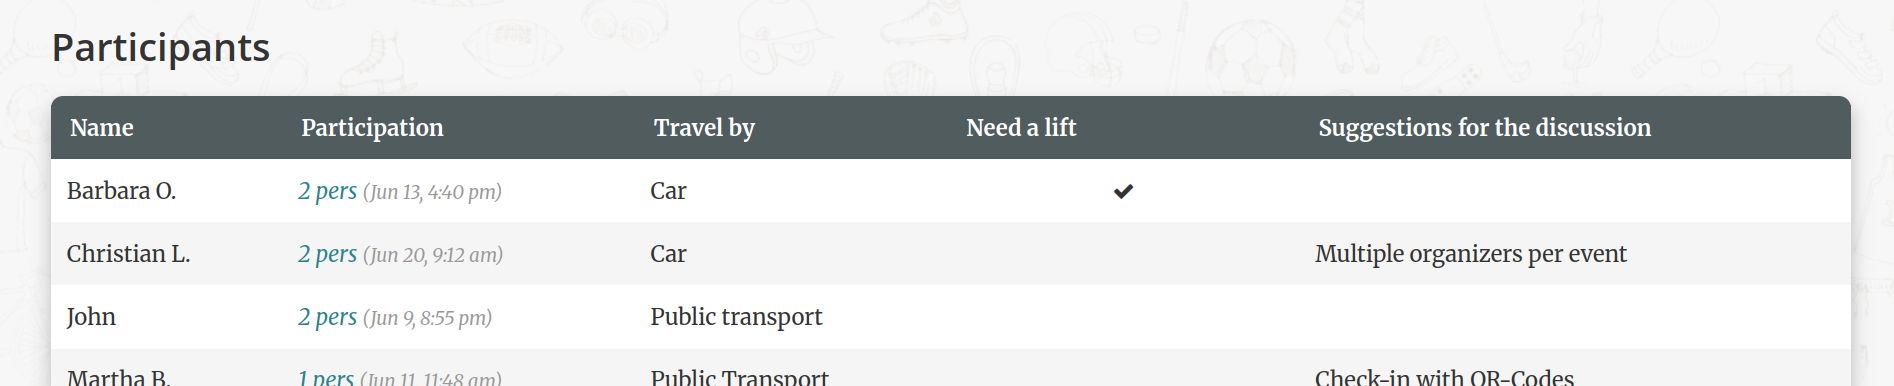
You have the option to publicly display the guest list (or parts of it) on the event’s registration page. Visitors will then be able to see, for example, the first names and attendance statuses of other guests – or even responses to specific fields that you requested during registration and marked as visible. This is particularly useful when an event is co-organized and coordination within the group is important.
However, you can also choose to display only the current number of participants publicly or not to share any information about the guest list at all. For privacy reasons, email addresses and phone numbers can never be made visible, and last names are displayed only as initials.
Contacts for sending invitations
Next, you’ll need to choose who you want to invite to your event. You can either send the invitations or publish the registration link yourself – in that case, you’re done here and can finish creating your event by clicking the “Send invitations yourself” button. Or you can have Let’s Meet send the invitations automatically by selecting “Add participants”
Here, you can enter a list of email addresses; for example, ones you’ve exported from your contacts. If you’ve already created an account, you can also use the Let’s Meet mailing lists: simply check the box next to one or more contact groups, or create a new one. Since there are many options and settings available for contact groups, we’ll cover how to create them in a separate guide.
Private events: personal registration links
For public Let’s Meet events, there is a general registration link that you can post or that guests can share to reach additional, possibly unknown people. While this may be desirable for public events, for private or exclusive events, this should of course not be possible.
If you choose to have Let’s Meet send out the invitations, guests will receive a personal registration link that they can only use to register themselves or their companions. The general registration link can be disabled altogether by setting a participant limit and setting the visibility of the guest list to be fully hidden or only display the number of participants. This ensures that no one can register without a personal registration link.
Invitation methods
With Let’s Meet, in addition to inviting all specified contacts at once, you also have two other invitation methods at your disposal.
The option “Favorites first” uses the feature that allows you to rate your contacts by importance – you can give each contact one, two, or three stars. Invitations are then sent out in three separate rounds: First, contacts with three stars receive an invitation – for example, your most important customers or VIPs. In the second round, contacts with two stars are invited, and in the third round, those with one star receive invitations, provided there are still spots available. You can set the time interval between rounds as you wish.
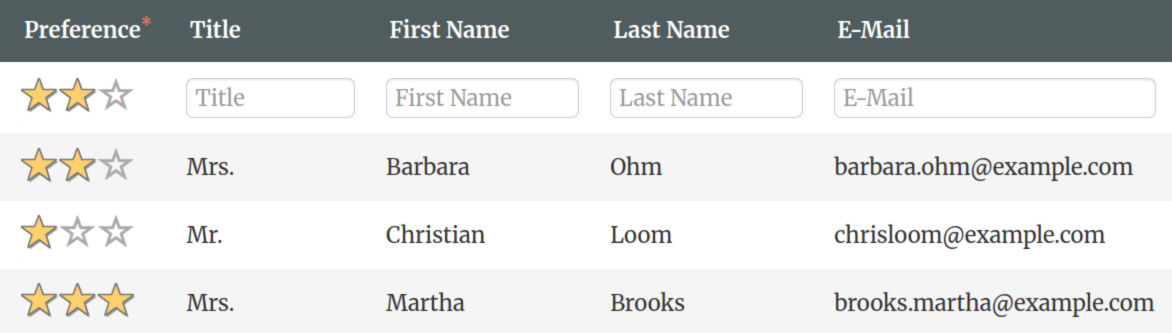
The “Random” option requires a participant limit. This method also works in rounds: in each round, as many contacts as there are open spots at your event are randomly selected and invited. Once the set time has elapsed, the next round begins. For every cancellation or unanswered invitation, a new one is automatically sent out. From experience, you should choose a timeframe that allows for at least three rounds, to ensure you receive enough registrations. This option is particularly well-suited for event series with a large number of interested participants. It prevents only the quickest responders to be selected each time, thereby ensuring a diverse mix of participants.
Customizing the invitations
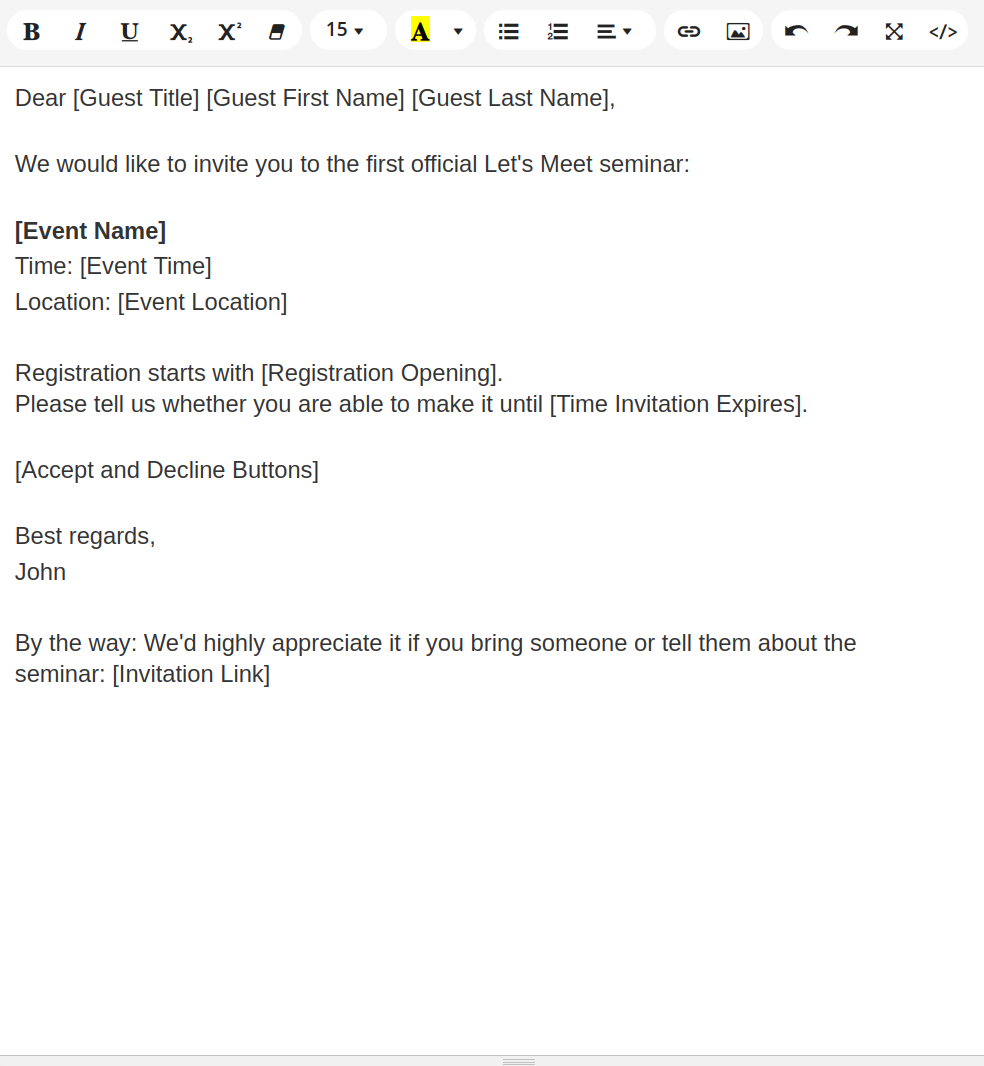
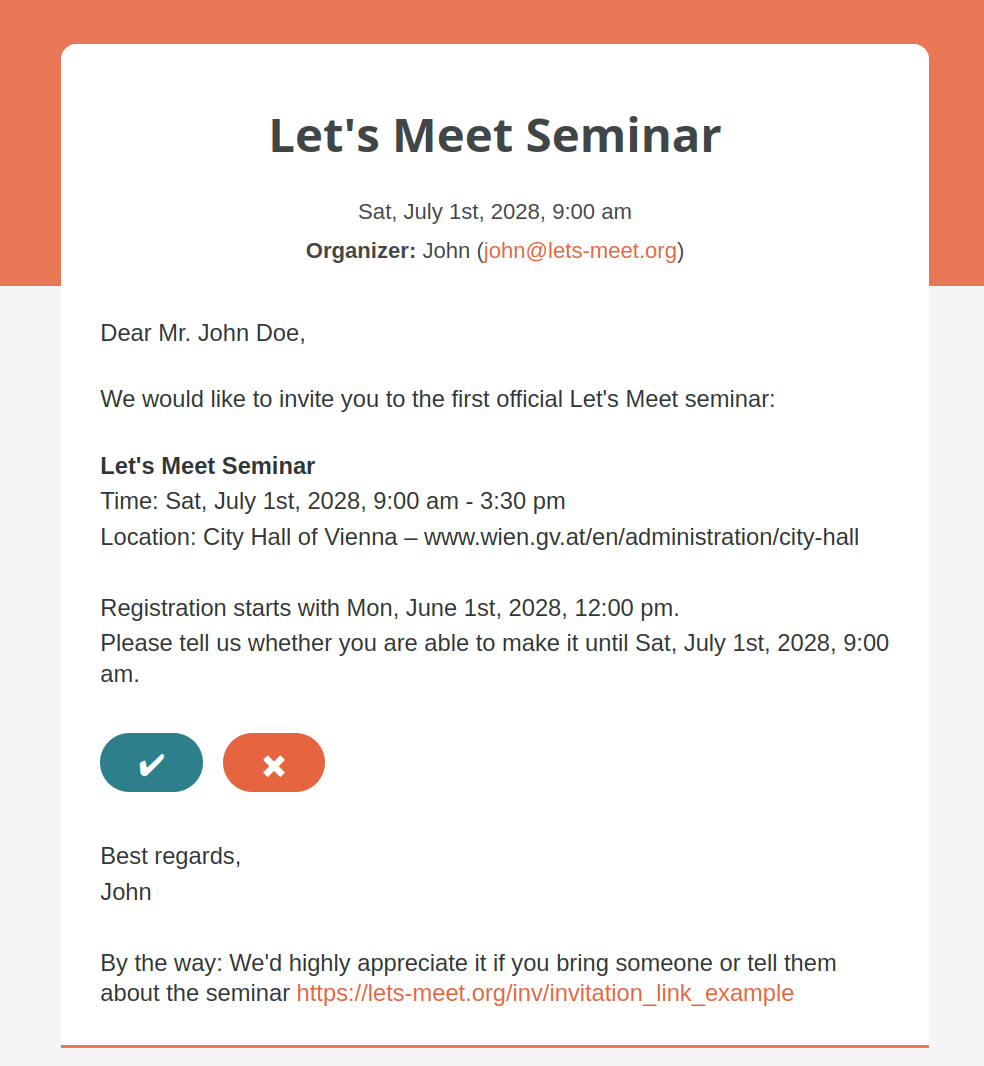
The wording of your invitations is completely up to you with Let’s Meet. You can create and edit the invitation text on the third page of the event creation process – customizing it to suit your event and your guests. You can use placeholders to make the invitation more personal. They allow yout to incorporate the salutation, the guest’s name, event details, and the buttons for accepting or declining freely into the text. Before sending, these will be automatically replaced with the actual information.
And again, you can use HTML code to fine-tune the appearance of the invitation text even further. Finally, you can decide whether to send the invitations immediately or at a later time.
Let’s get started
That’s all there is to it! Once the event is saved, you can save all the settings as a template for similar events. Otherwise, you can sit back and enjoy the automatic management of your guest list.
All paid packages also offer additional options: You can customize the design of the registration page or add your own fields to request additional information from your guests. A guide on how to do this will be available shortly.
Good luck organizing your event!